Table of Contents
ToggleA kitchen without proper ventilation is a recipe for lingering odors, grease buildup, and poor air quality. An under cabinet range hood solves these issues while keeping a low profile in your kitchen design. Whether upgrading an old unit or installing ventilation for the first time, understanding the mechanics, sizing, and installation process can save hundreds in contractor fees. This guide walks through everything a DIYer needs to know, from ducted vs. ductless options to CFM ratings and hands-on installation steps.
Key Takeaways
- An under cabinet range hood prevents grease buildup, odors, and poor air quality while maintaining a low kitchen profile, making it the most common residential ventilation choice.
- Ducted systems exhaust air outside for superior odor and pollutant removal, while ductless models recirculate through charcoal filters but work best with electric cooktops.
- Choose hood size by matching cooktop width and calculating CFM using 100 CFM per linear foot for gas ranges—a 30-inch range typically needs 250–400 CFM for adequate ventilation.
- Proper CFM rating and duct sizing are critical: undersized ducts reduce airflow efficiency by roughly 25 feet per 90-degree elbow, so a 400 CFM hood may only deliver 250 CFM through a longer run with multiple bends.
- DIY installation requires careful attention to electrical wiring, ductwork sealing with foil tape (not cloth), and exterior dampers to prevent backdrafts and maintain efficiency.
- High-CFM hoods over 400 CFM may require makeup air systems in tightly sealed homes to prevent negative pressure and backdrafting from other appliances.
What Is an Under Cabinet Range Hood and How Does It Work?
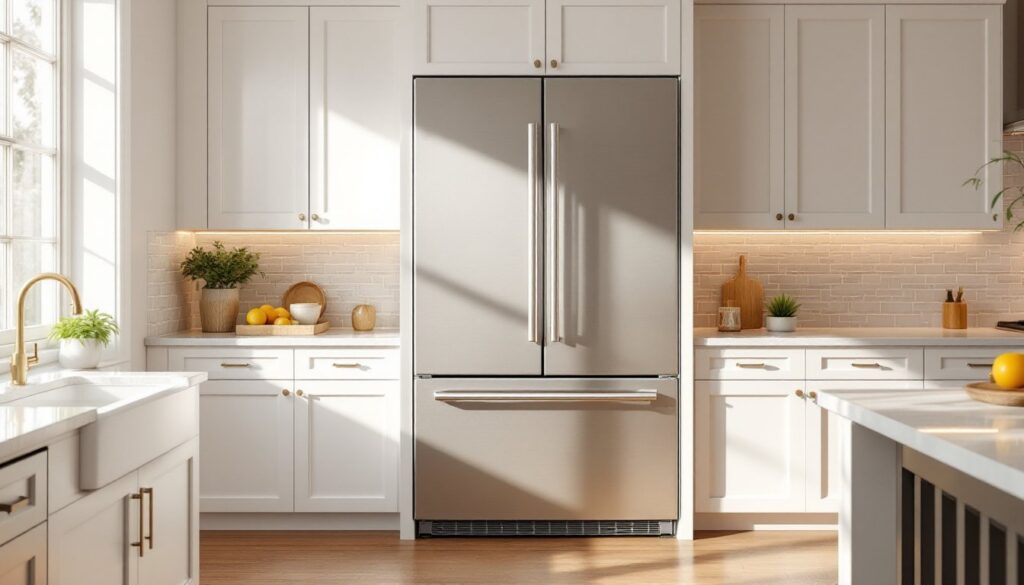
An under cabinet range hood mounts directly beneath upper cabinets above a cooktop or range. It’s the most common residential ventilation option because it doesn’t require bulky ductwork running through ceilings or custom cabinetry modifications.
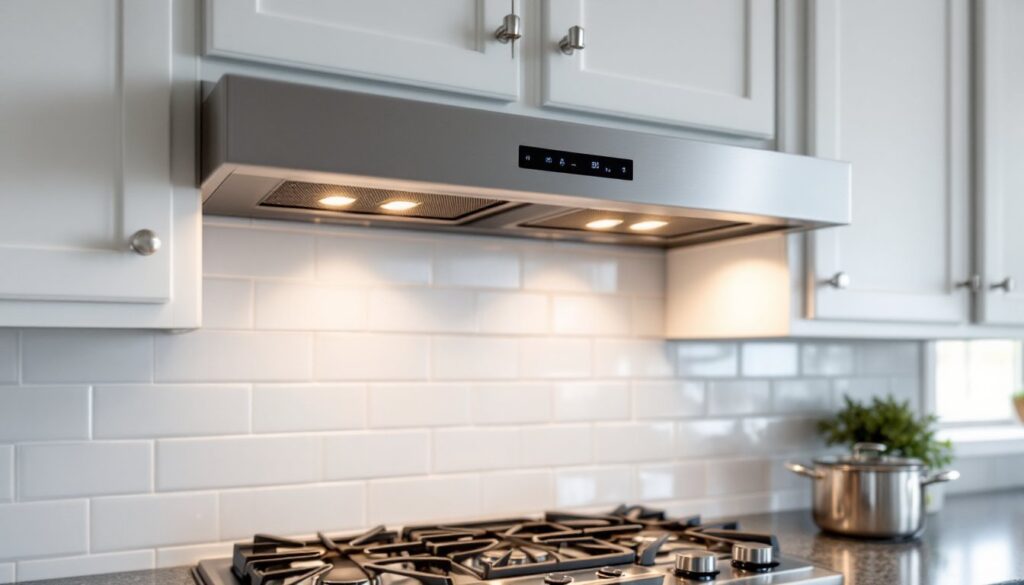
The unit pulls cooking fumes, steam, and grease-laden air through a series of mesh or baffle filters using an internal blower. In ducted under cabinet range hood systems, the blower exhausts air through ductwork to the outside. In ductless models, air passes through charcoal filters and recirculates back into the kitchen.
Most units include integrated lighting, typically LED or halogen, and multi-speed fans controlled by pushbuttons or touch panels. The blower is measured in cubic feet per minute (CFM), which determines how much air the hood can move. Higher CFM ratings handle more heat and smoke but also generate more noise, measured in sones.
Under cabinet models fit standard 30-inch or 36-inch cooktop widths and mount with screws into the cabinet bottom or directly into wall studs if no cabinet is present.
Key Benefits of Installing an Under Cabinet Range Hood
Installing proper ventilation isn’t just about code compliance, it’s about protecting your home and improving indoor air quality.
Grease and moisture control: Cooking releases aerosolized grease that coats cabinets, walls, and ceilings. A functioning hood captures most of this before it settles. Without ventilation, grease builds up inside cabinet boxes and causes finish damage over time.
Odor removal: Ducted systems exhaust cooking odors outside rather than spreading them through the house. Ductless units reduce odors but can’t match the effectiveness of true exterior venting.
Heat management: Gas ranges and high-BTU burners generate significant heat. A range hood removes hot air and prevents upper cabinets from warping or delaminating due to prolonged heat exposure.
Improved air quality: Combustion byproducts from gas stoves, including carbon monoxide, nitrogen dioxide, and particulates, are health concerns in poorly ventilated kitchens. Ventilation reduces indoor pollutant concentrations, particularly important in tightly sealed modern homes.
Resale value: Many buyers expect ventilation over the range. In some jurisdictions, building codes require mechanical ventilation in kitchens, especially for gas appliances. Installing a code-compliant hood can avoid inspection issues during a sale.
Types of Under Cabinet Range Hoods: Ducted vs. Ductless
The fundamental choice is whether to vent outside or recirculate air. Each has trade-offs.
Ducted (vented to exterior): These systems use rigid or flexible ductwork, typically 6-inch or 8-inch round, or 3.25 x 10-inch rectangular, to exhaust air through an exterior wall or roof cap. Ducted configurations are more effective at removing heat, moisture, and odors because they expel contaminated air completely.
Ducted installations require access to an exterior wall or soffit, and ductwork must terminate with a weatherproof cap that includes a damper to prevent backdrafts. Horizontal runs should be as short and straight as possible: every 90-degree elbow reduces airflow efficiency by roughly 25 feet of equivalent duct length.
Most building codes and home improvement advice favor ducted systems for gas ranges due to superior pollutant removal.
Ductless (recirculating): These models pull air through aluminum mesh filters to trap grease, then pass it through activated charcoal filters to reduce odors before returning air to the kitchen. They’re ideal for kitchens where running duct isn’t feasible, island locations, condos with restricted exterior access, or historic homes where wall penetrations aren’t allowed.
The downside: charcoal filters need replacement every 3-6 months depending on cooking frequency, and they don’t remove heat or moisture. Ductless hoods work best with electric or induction cooktops that produce less combustion byproduct.
Some models are convertible, shipping with charcoal filters but allowing ductwork connection if desired. Check the manufacturer’s specs, not all “convertible” hoods include the necessary duct collar or damper.
How to Choose the Right Size and CFM Rating for Your Kitchen
Sizing an under cabinet range hood vent involves two factors: physical dimensions and airflow capacity.
Width: The hood should match or exceed the width of the cooking surface. A 30-inch range needs at least a 30-inch hood: a 36-inch cooktop should have a 36-inch hood. Pros typically recommend oversizing by 3 inches on each side when possible, particularly for high-output gas ranges. This extra coverage captures rising heat and smoke more effectively before it disperses.
One home renovation regret experts cite is undersizing the range hood, leading to inadequate ventilation and lingering kitchen odors.
CFM (cubic feet per minute): This measures the blower’s air-moving capacity. Calculate minimum CFM using one of these methods:
- Gas ranges: 100 CFM per linear foot of cooktop. A 30-inch (2.5-foot) range needs at least 250 CFM.
- Electric ranges: 100 CFM per 10,000 BTUs of burner output for gas, or 100 CFM per linear foot for electric.
- Professional or high-BTU ranges: Add 100 CFM for every 10,000 BTUs over 60,000 total.
For a typical 30-inch range with 40,000 BTU total output, a 300-400 CFM hood provides adequate ventilation. High-output ranges may require 600+ CFM, but this usually necessitates makeup air systems in tightly sealed homes, consult local code.
Noise levels: Measured in sones, where 1.0 sone equals the sound of a quiet refrigerator. Most residential hoods operate between 1.5 and 8 sones at full speed. Units rated under 3 sones at max CFM are noticeably quieter and preferable for open-plan kitchens.
Duct considerations: If running ductwork, note that smaller ducts (6-inch vs. 8-inch) and longer runs with multiple elbows reduce effective CFM. A 400 CFM blower might only deliver 250 CFM through a 25-foot duct run with three elbows. Oversizing the blower or upsizing ductwork compensates for this loss.
Step-by-Step Installation Guide for DIY Homeowners
Installing an under cabinet range hood is a manageable weekend project for homeowners comfortable with basic electrical and carpentry work. But, running new ductwork or moving electrical boxes may require permits and professional help.
Tools and Materials You’ll Need
Tools:
- Drill/driver with assorted bits (Phillips, 1/8-inch pilot bit, hole saw if running new wiring)
- Stud finder
- Level (2-foot or laser)
- Adjustable wrench
- Wire strippers and electrical tester
- Tin snips (for ductwork)
- Reciprocating saw or jigsaw (if cutting exterior vent opening)
- Safety glasses, gloves, and dust mask
Materials:
- Under cabinet range hood (ducted or ductless)
- Ductwork: rigid or flexible 6-inch or 8-inch duct, elbows, and exterior cap (ducted installs only)
- Foil duct tape (NOT cloth “duct tape”)
- Wire nuts and electrical cable (if extending circuits)
- Mounting screws (often included with hood)
- Exterior-grade caulk or weatherproof sealant
Installation Process and Common Pitfalls to Avoid
1. Turn off power: Locate the kitchen circuit at the breaker panel and switch it off. Use an electrical tester to confirm power is off at the junction box or outlet where the hood will connect.
2. Remove old hood (if applicable): Disconnect wiring, remove mounting screws, and detach ductwork. Cap the duct opening temporarily to prevent drafts.
3. Check cabinet clearances: Most codes require 18-24 inches between the cooktop surface and the bottom of the hood for electric ranges, and 24-30 incoming for gas ranges. Verify your specific range manufacturer’s recommendations, some high-BTU units need more clearance.
4. Locate mounting points: If mounting to the underside of a cabinet, drill pilot holes through the cabinet bottom using the hood’s template. If no cabinet exists, locate wall studs and mark mounting holes accordingly. Use a stud finder and mark locations with a pencil.
5. Prepare ductwork (ducted installs): Measure and cut ductwork to reach from the hood’s exhaust collar to the exterior wall or roof cap. Minimize elbows and keep runs as straight as possible. Secure joints with foil tape, not screws (screws create grease traps).
If cutting a new exterior opening, measure carefully and use a reciprocating saw or hole saw from inside, then finish the cut from outside to prevent siding damage. Install the exterior cap with the damper oriented correctly (flap should close when the fan is off).
6. Mount the hood: With a helper, lift the hood into position and secure it with mounting screws into cabinet底 or wall studs. Use a level to ensure the hood is plumb, an uneven hood looks sloppy and may not drain grease properly toward the filters.
7. Connect ductwork: Slide the duct over the hood’s exhaust collar and secure with foil tape or a hose clamp. Ensure the damper (if present) moves freely.
8. Wire the hood: Most hoods require a direct 120V connection. Match wires: black (hot) to black, white (neutral) to white, and green or bare copper (ground) to ground. Use wire nuts and wrap connections with electrical tape. Tuck wires neatly into the junction box and attach the hood’s cover plate.
If extending wiring, use 14/2 or 12/2 NM cable (depending on circuit amperage) and follow NEC guidelines. Complex wiring or new circuits require a permit and often a licensed electrician.
9. Install filters and test: Slide grease filters (and charcoal filters for ductless models) into their slots. Restore power and test all fan speeds and lights. Listen for unusual rattling, loose ductwork or filters can vibrate.
Common pitfalls:
- Undersizing ductwork: A 600 CFM blower choked by 4-inch duct is useless. Match duct size to the hood’s specifications.
- Forgetting the damper: Exterior caps without dampers allow cold air, pests, and rain to enter when the fan is off.
- Poor duct sealing: Leaky joints reduce efficiency and deposit grease inside walls. Foil tape is rated for grease and heat: cloth duct tape isn’t.
- Ignoring makeup air: High-CFM hoods (over 400 CFM) in tight homes can create negative pressure, causing backdrafting from water heaters or furnaces. Some codes require makeup air systems for hoods over 400 CFM. Consult local building officials.
For more detailed kitchen design ideas and appliance integration tips, explore resources focused on functional kitchen layouts.