Table of Contents
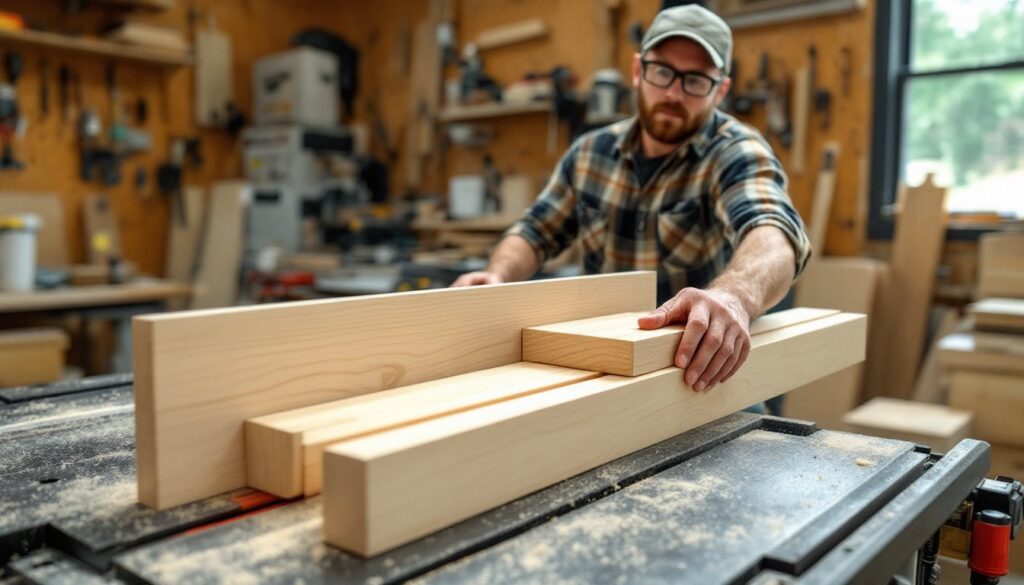
ToggleA table saw is powerful, but without the right jigs, it’s like owning a sports car and never leaving second gear. The table saw sled, specifically the crosscut sled, is the single most useful jig a woodworker can build. It turns sketchy, blade-burning crosscuts into precise, repeatable, and safe operations. Whether someone’s trimming cabinet parts to final dimension or squaring up rough lumber, a well-built sled delivers accuracy that a miter gauge simply can’t match. This guide walks through what a table saw sled does, the types available, and how to make a table saw sled from scratch using materials most DIYers already have in the shop.
Key Takeaways
- A table saw sled eliminates kickback and binding by providing a stable platform with rock-solid fence reference, delivering square cuts every time compared to a miter gauge.
- Building a basic crosscut sled takes about two hours using common MDF or plywood and hardwood runners, making it the best first jig project for DIYers seeking precision workshop setup.
- A table saw sled enables repeatable production cuts through stop blocks, allowing woodworkers to create dozens of identical parts without remeasuring.
- Two main sled types serve different needs: crosscut sleds for general length cuts and panel trimming, while miter sleds with adjustable fences excel at compound angles for frames and joinery.
- Proper sled maintenance—waxing the base, checking fence squareness, and replacing sacrificial backers—keeps the jig performing accurately for years of safe, precise table saw work.
What Is a Table Saw Sled and Why Do You Need One?
A table saw sled is a flat platform that rides in the miter slots of a table saw, with a fence mounted perpendicular (or at a set angle) to the blade. The workpiece sits against the fence, and the entire sled, with the workpiece locked in place, slides through the blade. Unlike a miter gauge, which offers minimal support and can allow workpieces to shift mid-cut, a sled cradles the material on both sides of the blade and provides a rock-solid reference surface.
Why does this matter? Accuracy and safety. Crosscutting small pieces or wide panels with just a miter gauge often leads to binding, kickback, or out-of-square cuts. A sled eliminates those risks. The workpiece never moves relative to the fence, so cuts are square every time (assuming the sled is built square). The large base also keeps hands farther from the blade, and many woodworkers add a blade guard or dust collection port to the rear fence.
Another advantage: repeatability. Once a stop block is clamped to the fence, a builder can crank out dozens of identical parts without measuring each one. This is invaluable for production runs, think face-frame stiles, drawer sides, or trim pieces. For anyone beyond basic rip cuts, a crosscut sled for table saw work is non-negotiable.
Types of Table Saw Sleds for Different Woodworking Projects
Not all sleds are created equal. The design depends on the task. Here are the two most common configurations.
Crosscut Sleds
The table saw crosscut sled is the workhorse. It features a tall rear fence (often 3 to 4 inches high) mounted at exactly 90° to the blade kerf. The base is typically ¾-inch MDF or Baltic birch plywood, sized to fit the saw table, commonly 24 inches deep by 30 to 36 inches wide. Two hardwood runners, cut to fit the miter slots (standard ¾ inch × ⅜ inch or 19 mm × 9.5 mm T-track), are glued and screwed to the underside.
Crosscut sleds excel at cutting boards to length, squaring end grain, and trimming panels. Many woodworkers outfit the rear fence with a sacrificial backer board (a strip of ½-inch plywood or solid wood) to prevent tear-out on the exit side of the cut. Others add a clamp track or T-track to the fence for quick stop-block positioning. For anyone wondering how to build workshop jigs, the crosscut sled is the best starting project, it teaches precision setup and pays dividends on every future build.
Miter Sleds
A miter sled (sometimes called a multi-angle sled) has fences that pivot or are set at common angles, typically 22.5°, 30°, 45°, and 60°. The base is similar to a crosscut sled, but instead of a single perpendicular fence, it uses adjustable or fixed fences indexed to a protractor scale.
Miter sleds are essential for picture frames, hexagonal or octagonal projects, and any joinery requiring consistent compound angles. They’re less common in everyday shop work than crosscut sleds, but invaluable when the project calls for precision miters. Some designs incorporate flip-stops and hold-downs to keep narrow stock secure during angled cuts.
How to Build a Basic Crosscut Sled: Step-by-Step Instructions
Building a crosscut sled from scratch is straightforward. Budget about two hours for layout, assembly, and squaring. Here’s the process:
Materials List
- One sheet of ¾-inch MDF or Baltic birch plywood (for the base), cut to approximately 24 inches × 32 inches
- Two hardwood runners (maple or oak), ¾ inch × ⅜ inch × 24 inches (sized to fit miter slots)
- One piece of ¾-inch plywood or hardwood for the rear fence, 3 to 4 inches tall × 32 inches long
- One piece for the front fence (optional), 1.5 to 2 inches tall × 32 inches long
- Wood glue, 1¼-inch screws, and 1-inch screws
- Sandpaper (120-grit)
Tool List
- Table saw
- Drill/driver
- Clamps
- Combination square or framing square
- Tape measure
- Pencil
Step-by-Step Instructions
-
Fit the runners. Set the hardwood runners into the miter slots: they should slide smoothly without side-to-side play. If they’re tight, sand or plane to fit. If loose, apply thin strips of masking tape to the sides until snug.
-
Attach the runners to the base. Lay the MDF base upside-down. Apply a thin bead of wood glue along the top edge of each runner, then set them into the miter slots. Lower the base onto the runners, pressing firmly. Use a few small brads or clamps to hold the base in place while the glue sets (about 30 minutes). Once dry, flip the sled right-side up and drive 1-inch screws from the top, through the base and into each runner, spacing them every 4 to 6 inches. Countersink the screws so they sit flush.
-
Cut the kerf. With the blade lowered, place the sled on the saw. Turn on the saw and slowly raise the spinning blade up through the base, stopping when the blade reaches about 2 inches above the table. Push the sled all the way through. This kerf will guide fence alignment.
-
Attach the front fence (optional). This low fence prevents the base from lifting during a cut. Position it parallel to the front edge of the base, about 1 inch back from the edge. Glue and screw it down with 1¼-inch screws.
-
Square and attach the rear fence. This is the critical step. Place a reliable framing square or combination square against the kerf, extending it toward the rear of the sled. Butt the rear fence against the square’s blade. Clamp the fence in place. Double-check squareness from both the left and right sides of the kerf. When satisfied, drill pilot holes and drive 1¼-inch screws through the base into the fence, spacing them every 6 inches. For extra rigidity, add a few screws through the fence into the base from behind.
-
Test and adjust. Cut a scrap piece of 2×4 or plywood using the sled. Flip one half end-for-end and butt the cut edges together. If they’re perfectly flush, the fence is square. If not, loosen the screws, tap the fence slightly left or right, and retest. Repeat until square. Once dialed in, add a bead of glue along the fence joint for permanence.
-
Add a sacrificial backer. Screw a strip of ½-inch plywood to the back face of the rear fence. This backer prevents tear-out and can be replaced when it gets chewed up.
Many woodworkers look for detailed step-by-step project guides when tackling their first sled build, the process is forgiving, but accuracy in fence alignment is everything.
Tips for Using Your Table Saw Sled Safely and Accurately
A sled makes table saw work safer, but only if used correctly. Here are the key practices:
Safety First
- Always wear safety glasses and hearing protection. Table saws are loud, and offcuts can fly.
- Keep hands at least 6 inches from the blade path. Use a push stick or hold-down clamp for narrow stock.
- Check the sled before every session. Runners should glide smoothly. If they bind, the sled can jam mid-cut, leading to kickback.
- Don’t reach over the blade. Wait for the blade to stop before retrieving offcuts.
Accuracy Tips
- Use a stop block for repeat cuts. Clamp a block to the fence at the desired length. Butt each workpiece against the block, make the cut, and move on. This eliminates measuring error and speeds up production.
- Support long or wide panels. If the workpiece extends beyond the sled base, use a roller stand or outfeed table to prevent tipping.
- Cut with the “keeper” piece against the fence. This ensures the offcut is on the waste side and won’t bind between the blade and fence.
- Make a zero-clearance kerf. For ultra-clean cuts in plywood or veneer, attach a fresh backer to the rear fence and make a new kerf. The tight kerf around the blade minimizes tear-out.
- Mark your sled. Use a pencil or tape to indicate the blade path on the base. This helps with cut alignment without constant measuring.
Maintenance
- Wax the base. A coat of paste wax on the MDF keeps the sled gliding smoothly and prevents workpieces from sticking.
- Check squareness periodically. Wood movement or a bump can shift the fence. Test with scrap and adjust if needed.
- Replace sacrificial backers. Once the backer is chewed up from repeated cuts, swap it out. A fresh backer keeps exit cuts clean.
For further tips on hands-on shop techniques, many woodworkers turn to established workshop resources that cover both tool use and jig refinement.
Conclusion
A well-built table saw sled transforms the way a woodworker approaches crosscuts. It’s safer, more accurate, and faster than a miter gauge, and once dialed in, it stays square for years. Whether someone’s breaking down plywood panels or cutting joinery for a cabinet, the sled is the jig that pays for itself on the first project. Build one this weekend, and every cut after will prove why it’s the first jig every serious DIYer should own.